EAT RAINBOW LOVE


University of Birmingham graduate with a passion for food & cooking as part of a healthy lifestyle

Twitter: @EatRainbowLove
Instagram: lottierainbow
Showing posts with label sweet. Show all posts

Tuesday, 4 February 2014

Oreo Cheesecake

Oreo's and cheesecake - does it get any better?
Warning: you will want to eat the whole thing.
This recipe is basically the same one as I created for the honeycomb/Crunchie bar cheesecake which you can find here. This one is even more delicious though, it will make a perfect dessert for a dinner party or just for a Friday night in... It is really quick and simple to make as it is a no-bake-cheesecake, unlike this bad boy. Make sure you crumble the Oreo's on top just before serving because the longer they are on top of the creamy filling, the softer they will go and although it still tastes great a day or two later, it is better with a biscuity crunch on top!

Serves 6-8
- 200g dark chocolate digestive biscuits, finely crushed
- 50g slightly salted butter (plus more if the biscuit isn't sticking together very well)
- 150ml double cream
- 50g icing sugar
- drop of vanilla essence
- 200g cream cheese
- 1 and a half packs of Oreo's
1. Grease a circular loose-bottomed tin, or line a normal circular tin with grease proof paper.
2. Melt the butter and mix with the crushed biscuit. Press into the tin until compact and set aside.
3. Whisk the double cream with the icing sugar until thick consistency, and add the vanilla essence. 
4. Beat the cream cheese in a separate bowl then add the cream and sugar mixture and stir until combined.
5. Roughly crumble one pack of Oreo's with your fingers.
6. Stir the crumbled Ore's into the cheesecake mixture, then spread on top of the (buttery) biscuit base.
7. Leave in the fridge for a few hours then carefully take the cheesecake out of the tin and place on a serving plate. 
8. Place an Oreo in the centre of the cheesecake, then crumble half a pack (or as much as you want) all over the top, then slice and serve!
Enjoy :)

Friday, 8 November 2013

Apple and Cinnamon Muffins

These are a little bit of heaven. They smell and taste just like autumn - you've got soft apple chunks, 'chewy' dried cranberries, crunchy pumpkin seeds and the warming cinnamon flavour. These muffins are perfect for this time of year - they are super moist and crisp on top just the way I like them. They kind of taste like Starbucks pumpkin spiced lattes which are so yummy, I think it must just be the cinnamon.These are honestly one of my favourite baking creations to date, I will be coming back to this recipe every autumn now. If you make them please have one straight from the oven for me! mm mm

Makes 8 muffins
- 200g plain flour
- 50g soft brown sugar (plus extra for the topping)
- 100g caster sugar
- 2 1/2 tsp baking powder
- pinch of salt
- 2 tsp ground cinnamon (plus extra for the topping)
- 100ml milk
- 80ml sunflower oil
- 1 large egg, beaten
- few drops of vanilla essence
- 1 large cooking apple, peeled, cored and chopped
- 75g dried cranberries
- 50-75g pumpkin seeds (optional)

1. Pre-heat the oven to 200 degrees / gas mark 6.
2. Mix together all the dried ingredients in a large mixing bowl (flour, sugars, baking powder, salt and cinnamon)
3. In a jug, mix together the milk, oil and beaten egg until combined.
4. Gradually stir in the mixture in the jug into the dry ingredients until combined, then add in the apple chunks and mix together.
5. Next, stir in the dried cranberries and pumpkin seeds, if using, and mix until well combined.
6. Line a muffin tin with muffin cases and spoon the mixture into them.
7. Fill them quite full, then place in the oven for around 20 minutes or until golden grown on top.
8. When they are done, take them out of the oven but leave them in the tray for a few minutes while you mix together some brown sugar and ground cinnamon in a small bowl, for the topping.
9. Sprinkle the sugar and cinnamon mixture over the top of each muffin whilst still hot, this just makes them look nicer and gives extra flavour and sweetness! Place on a wired tray to cool or enjoy warm from the oven.
I accidentally ate one when it was hot out of the oven (don't worry, it was a mis-shapen one because it didn't fit in the muffin tray). It was so delicious - this is what it looked like inside, of course the other muffins looked better because they weren't flat and squished.  

Enjoy :)

Wednesday, 24 July 2013

Blueberry muffins

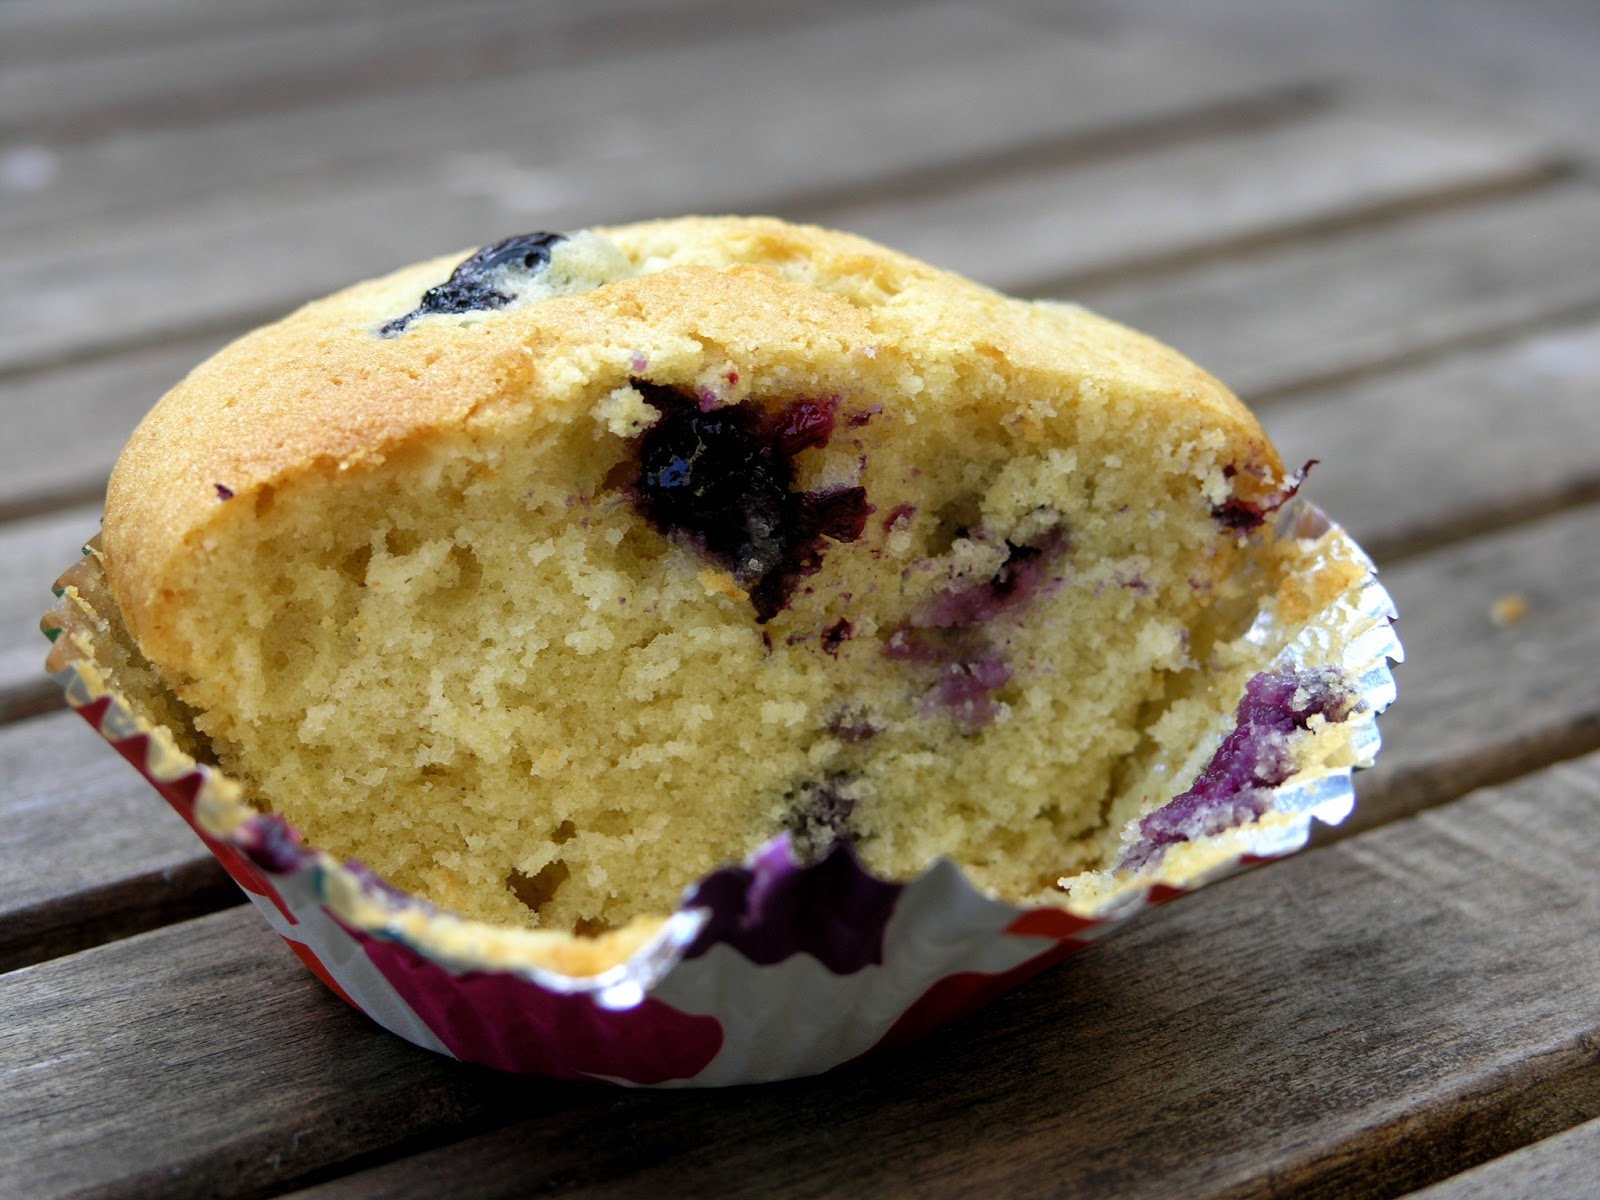
These sweet, fruity muffins are so light and full of flavour - perfect for summer. They are delicious fresh out of the oven, but still have a crisp top and juicy, moist inside when cooled. They are super easy to whip up so give them a try, they will not disappoint. 

Makes 12 muffins
- 110g butter
- 250g caster sugar
- 2 eggs, beaten
- 250g plain flour
- 2 tsp baking powder
- 125ml milk
- 225g fresh blueberries

1. Pre-heat the oven to 180 degrees, and line a muffin tin with cases.
2. Cream together the butter and sugar until smooth.
3. Whisk in the eggs, then add the flour and baking powder, mixing well.
4. Stir in the milk until the mixture is smooth. Fold in 3/4 of the blueberries.
5. Spoon the mixture into the muffin cases about 2/3 full.
6. Press the remaining blueberries evenly into the mixture in each muffin case.
7. Bake in the oven for 25-30 minutes, or until risen and golden brown. Cool on a wired rack.

 Enjoy :)

Friday, 18 January 2013

Festive baking

This is a very late Christmas baking post but I really wanted to show you what I made over the festive period. Since Christmas has been and gone, I won't actually provide the recipes like usual but if you do want to know more information then feel free to leave a comment or contact me via the links above and I will happily give you the recipes and method etc. Hope you had a lovely Christmas and New Year and that you enjoy the pictures!

Yule Log
I made this for Christmas day but because the Christmas period is so hectic I opted for the shop-bought chocolate swiss roll which I then cut up and positioned in the below shape (my mum's influence!) and  made the chocolate buttercream to spread on top. It looks and tastes better than the finished shop-bought ones but takes almost no time at all and is really simple. It would not have been Christmas without this!

Mince Pies
Again, you are going to think I'm really lazy, but I 'made' these gorgeous mince pies with ready-made shortcrust pastry and a jar of mincemeat! And I'm actually not ashamed to admit this since they were so yummy and although one day I would love to make them entirely from scratch, this way means you can whip them up in under an hour and they still look really impressive. It is never too late for a mince pie so I definitely recommend making these while the weather is still cold - warm from the oven mm mm.

Cinnamon and chocolate biscuits
Half of these were chocolate and cinnamon, and the other half just mixed spice and to be honest, I couldn't really tell the difference but they were so warming and delicious all the same. The stars and holly leaves I just used cutters and then decorated with writing icing, and the snowmen I used royal icing, food colouring, writing icing and silver balls. I loved making the snowmen, I think they look so cute. These biscuits are basically just the same as any recipe but just add the spices and they're even more delicious! 

Saturday, 15 September 2012

Mint chocolate cupcakes

I made these yesterday for my sister's birthday celebrations tonight, and they were so delicious! Chocolate and mint is always the perfect match, and with a mint aero bubble on top, what could be better? These look really cute and taste surprisingly light and refreshing. I used a large star piping nozzle that I recently brought off Amazon and you can really tell the difference - I think these look a lot more professional than previous cupcakes I have made - it's definitely worth the money. These would also look good decorated with after eight mints.
For the chocolate sponges (makes about 24)
- 225 margarine/butter (or both)
- 225g caster sugar
- 4 eggs, beaten
- 225g self raising flour
- 1/2 tsp baking powder
- 2 tbsp semi skimmed milk
- 1 tsp vanilla essence
- 4 tbsp cocoa powder

For the peppermint buttercream
- 150g unsalted butter
- 225g icing sugar
- 2 tbsp hot milk
- 4 tsp peppermint extract (according to taste)
- few drops of green food colouring
- mint aero bubbles, to decorate

1. Pre-heat the oven to gas mark 4 / 180 degrees. Line a few cupcake trays with cupcake cases.
2. Beat together the marg/butter and sugar until light and fluffy. Gradually beat in the eggs, adding flour occasionally if curdling occurs.
3. Sift the remaining flour, baking powder and cocoa powder into the bowl, then gradually whisk in the milk and vanilla essence.
4. Spoon into the cupcakes cases and bake in the oven for around 20 minutes. Leave to cool on a cooling tray.
5. For the butter cream, cream together the butter, sugar and milk until smooth. Add the peppermint extract and food colouring and stir thoroughly. Taste and if necessary add more of the peppermint.
6. Using a disposable piping bag and a large star nozzle, pipe the buttercream on top of each cupcakes - be generous! Place a mint aero bubble on top and voila!
I ran out of buttercream and so decorated the remaining 3 cupcakes like this, ha ha ha it makes me laugh:
Enjoy :)

Monday, 3 September 2012

Summer smoothies

It's been such a lovely sunny, hot day here today even though it's September now, woo, so these cold smoothies were perfect for today. I have also had a really bad cold these last few days (surprise surprise) so although I haven't had much of an appetite, I've been trying to eat as healthy as possible. I really wanted to make the pineapple and spinach smoothie that I've posted on here about before because it has lots of yummy and nutritious ingredients in, and in the end I made two different smoothies. The purple (and more attractive) one is exactly the same as the pineapple and spinach one, just without the spinach! They are both really delicious, I had the spinach one with my lunch and am going to have the sweeter one after dinner later!

You can find the recipe for the smoothie here - it is low fat natural yogurt, frozen berries, fresh pineapple, fresh spinach leaves and some water.
This time I added a little more of everything (particularly yogurt) so it made two drinks rather than just one. I also added some fresh blueberries as well as the frozen berries. Add everything but the spinach into the blender then pour half of it into a glass.
Add the spinach to the remaining smoothie in the blender, continue to blend, then pour that one into a glass too!
Enjoy :)